Step-by-step instructions to go from scratch to your playable, shareable story with Arcweave
Ever wanted to create your own interactive story but didn't know where to start? In this quick tutorial, you'll build your first branching story in just 7 minutes, and you'll learn how to expand it, test it, and share it with the world.
Step 1: Create a new project
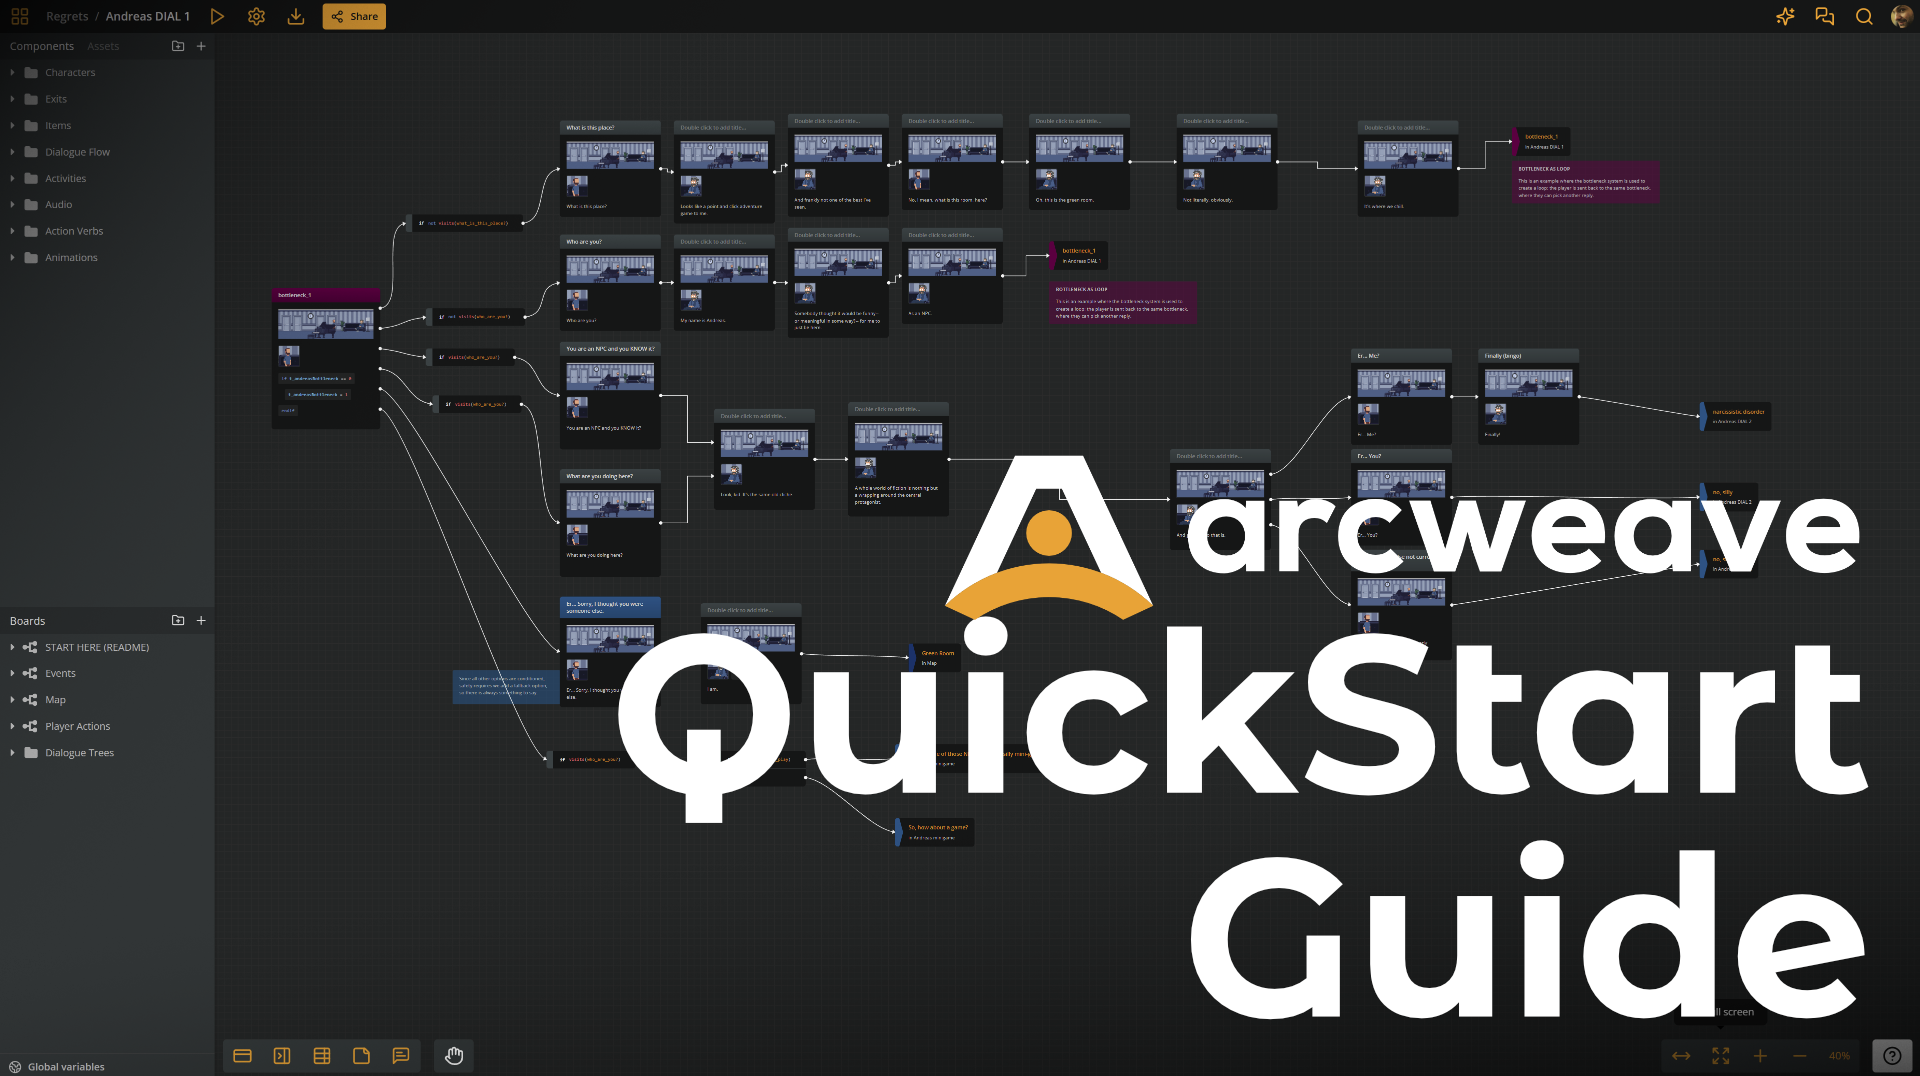
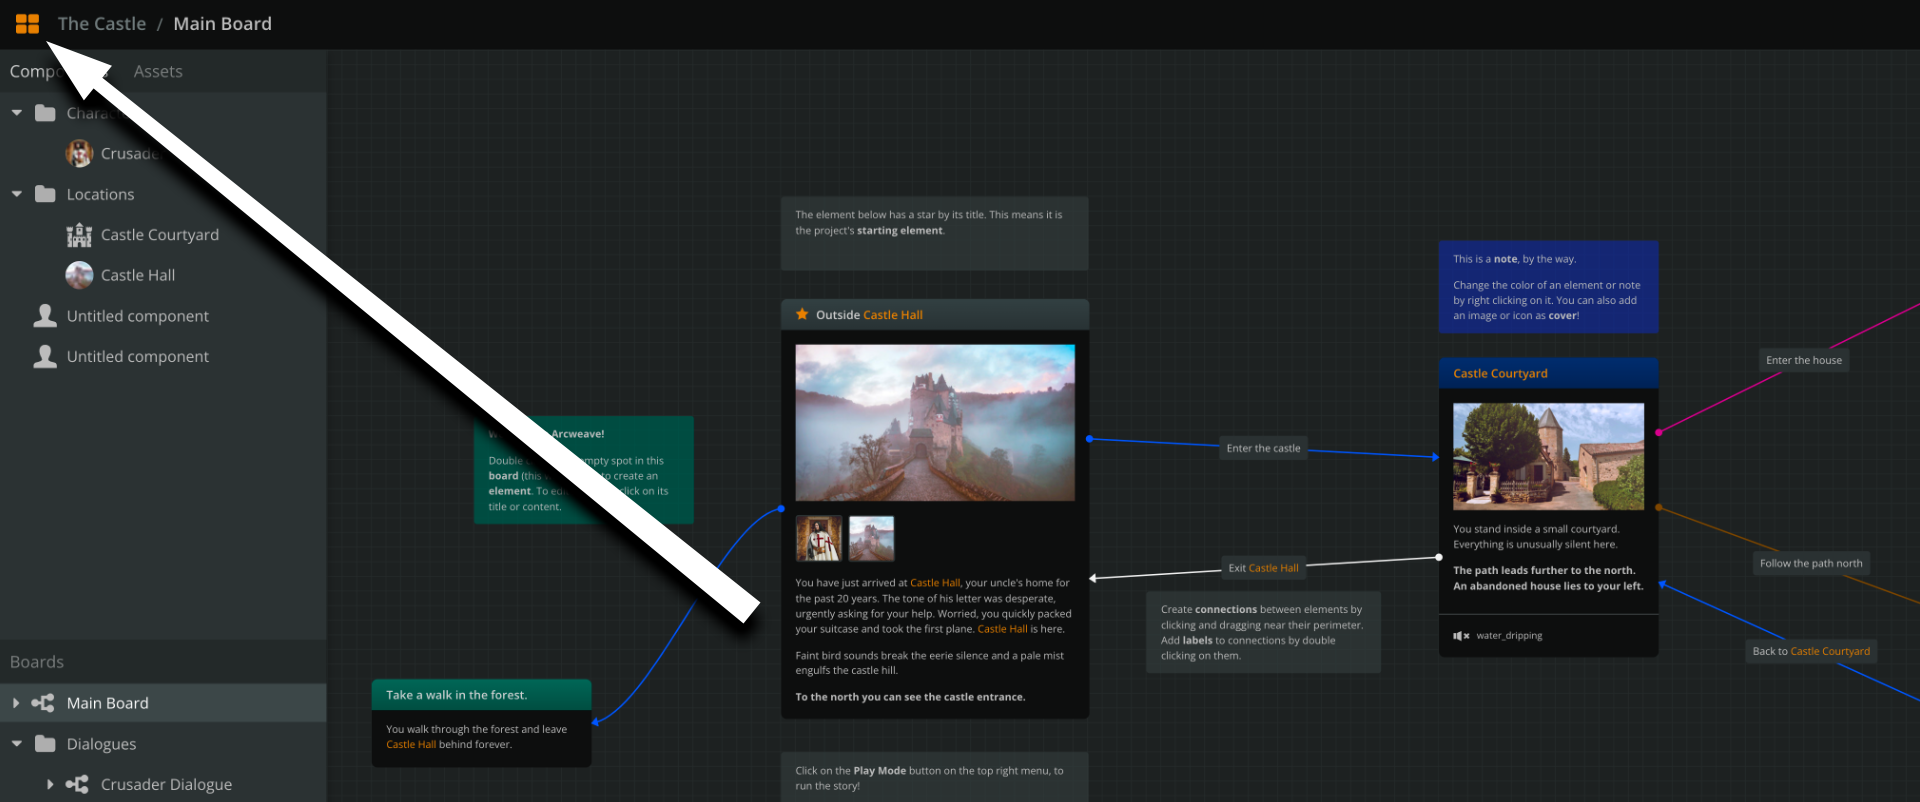
When you first open Arcweave, you’ll see The Castle, the built-in example project. Don’t worry about it for now; you’ll have plenty of time to explore it later.
Click on the top left orange icon, to exit to your projects list.
Once there, click on the +New Project button, at the top left.
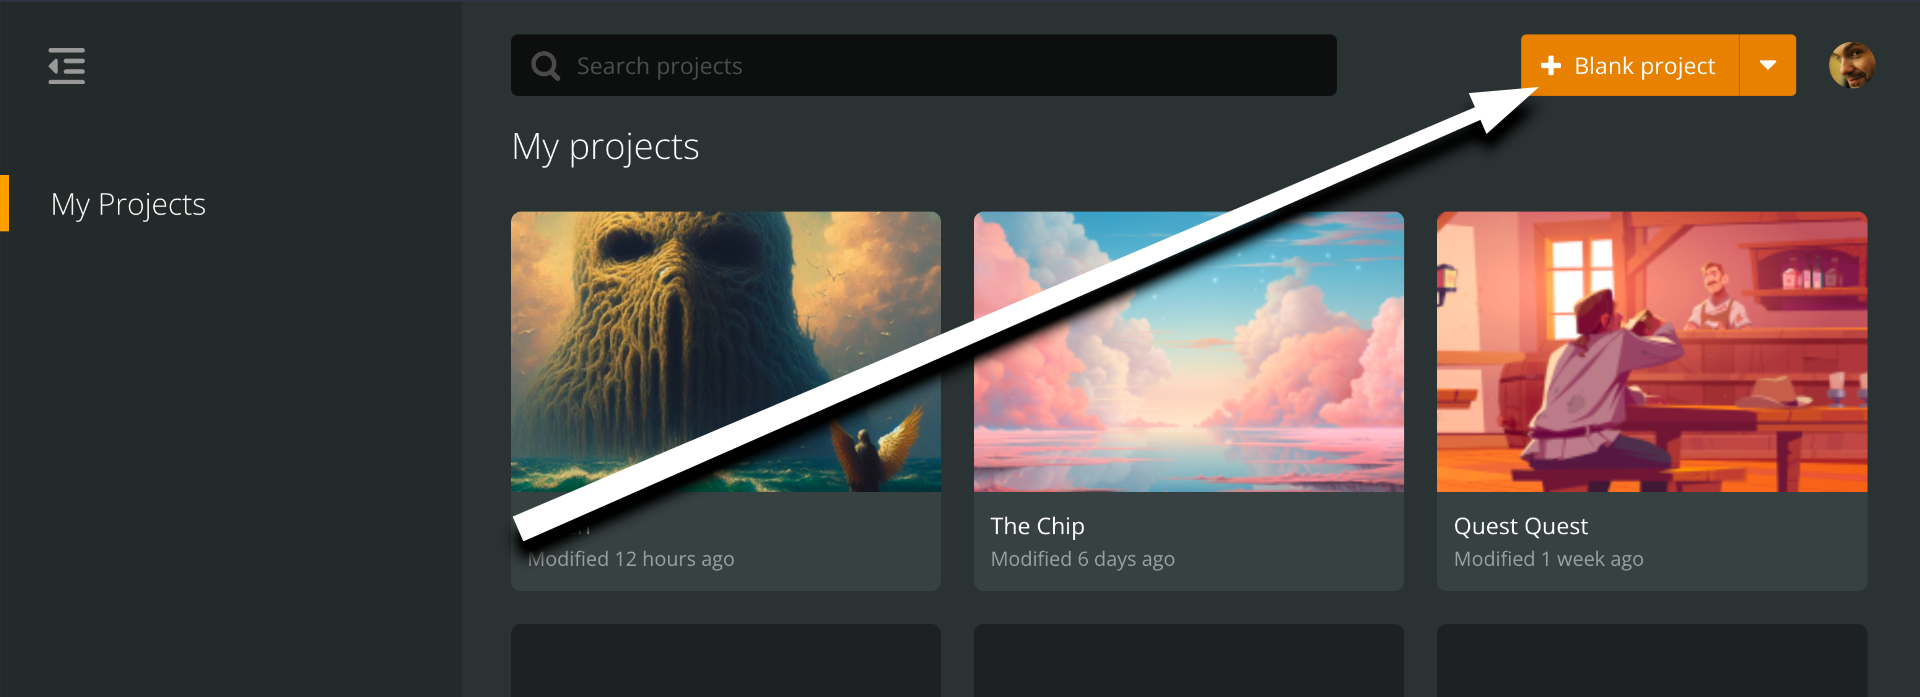
The templates modal will open. Select Blank Project.

Your new project will open.
Step 2: Add your first element
The biggest area of your screen is now occupied by your first board. Double-click anywhere to create your first element.

Elements are the building blocks of your story, each of them carrying a small fragment of narrative.
Double click in the element's body to write your opening scene:
As you walk towards the entrance of the woods, an old man stops you. "You can't go in there!" he says. "Monsters await for careless travellers!"
Now press TAB to edit the element's title: name the element Warning.

Step 3: Create your first player choice
From your element's edges, drag to create a connection. Drop it onto an empty board area and choose Create Element here, to create Element 2.


By joining elements with connections, you create your story flow, allowing the player to make choices and progress through your game.
Element 2 is already selected. Press ENTER to edit its content:
You thank the man for the warning and turn around. In a few minutes, you're back to the safety of your home.
Press TAB and add a title: Go home.
In the same fashion, create a third element that connects from Element 1 and type its content:
You give the man a polite nod and continue into the woods.
Add a title: Ignore warning. Your board now should look like the following image.

If the current element is still selected, press CTRL + ALT + RIGHT ARROW, to create your next element and automatically connect it.

Arcweave has a list of keyboard shortcuts that help you write with minimum switching between mouse and keyboard.
Press ENTER to immediately start typing its content:
How the story continues is up to you. As Keith Johnstone said:
There are people who prefer to say 'yes' and there are people who prefer to say 'no'. Those who say 'yes' are rewarded by the adventures they have. Those who say 'no' are rewarded by the safety they attain.
Click the Blockquote icon in the formatting menu, to turn the quote into a blockquote paragraph.

Add a title: Finale.
Finally, drag a connection from the "Go home" element and drop it into the "Finale" one. Your story is finished!

Step 4: Test your story
Right-click the "Warning" element and select Play Mode > Set Play Mode start.

A star will appear next to the element's title.
Now, click on the PLAY icon on the top menu, to start the Play Mode.

Arcweave's Play Mode opens in a new browser tab. Click on the option buttons, to proceed from element to element and play your story.

To restart the playthrough, click the Restart icon on the top menu.

Step 5: Rename your story
Back to your board, click at the left side of the top menu, where it says Untitled and give your story an awesome title!

Step 6: Share your story
Press the Share button on the top menu. In the modal that opens, select "can play only" from the dropdown next to the option "Anyone with the link."

Then, click on Copy link and send the link to your players!
Congratulations! You've now mastered the bare minimum required to create your own interactive story and share it with the world!
Next steps
- BEGINNER – Build on what you learned: Expand your first project by adding more elements, choices, and outcomes. Create a rich interactive experience step by step.
- INTERMEDIATE – Go audiovisual: Add images, audio, and video in Arcweave to bring your story to life and immerse your players.
- ADVANCED - Level up: Master Arcweave basics: a step-by-step tutorial on the ultimate interactive storytelling tool that will teach you features and tactics.
- CHAMPION – Become an expert: Explore every feature with Arcweave's video tutorials and documentation. You'll be creating professional, complex interactive stories in no time.
You'll find yourself creating complex interactive stories using all of Arcweave's features in no time!