Structure and test your interactive story early and efficiently.
You’ve already devoured our blog post on writing interactive stories and are hungry for more. Perhaps you even have an idea for an interactive story and can’t wait to start tapping those keys.
Well, then, good for you—and go for it!
To help you overcome the hurdles of story content management, here is some advanced methodology. In this post, you’ll see how to create a interactive outline and use it to organise and prototype your story, while zooming in to write your scenes.
Outlines and prototypes
So, yes, we can use an outline to prototype our story. But what does that mean and what is the difference between a prototype and an outline?
Prototype
A prototype is a quick and cheap way to materialise and test a concept. A concept of what? Anything, really: a product, a service, a sculpture or painting, a game, and an interactive story. How quick and cheap? As much as it can get, as long as it allows the study and testing of our concept.
In other words, in prototyping, we strip the concept naked of all elements that support it and see if it holds by itself. That’s why the verb “to prototype” means not only to create one, but also to see if it passes the test.
In the case of a game, the concept can be an original game mechanic defining the player’s experience. We need to test it, without getting involved with or influenced by other elements, like game art or animations—which take time and money to create.
In case of an interactive story, a prototype must not include the whole story, but a part that carries the story’s essence, mood, theme, magic system, or any other aspect we need to test.
Outline
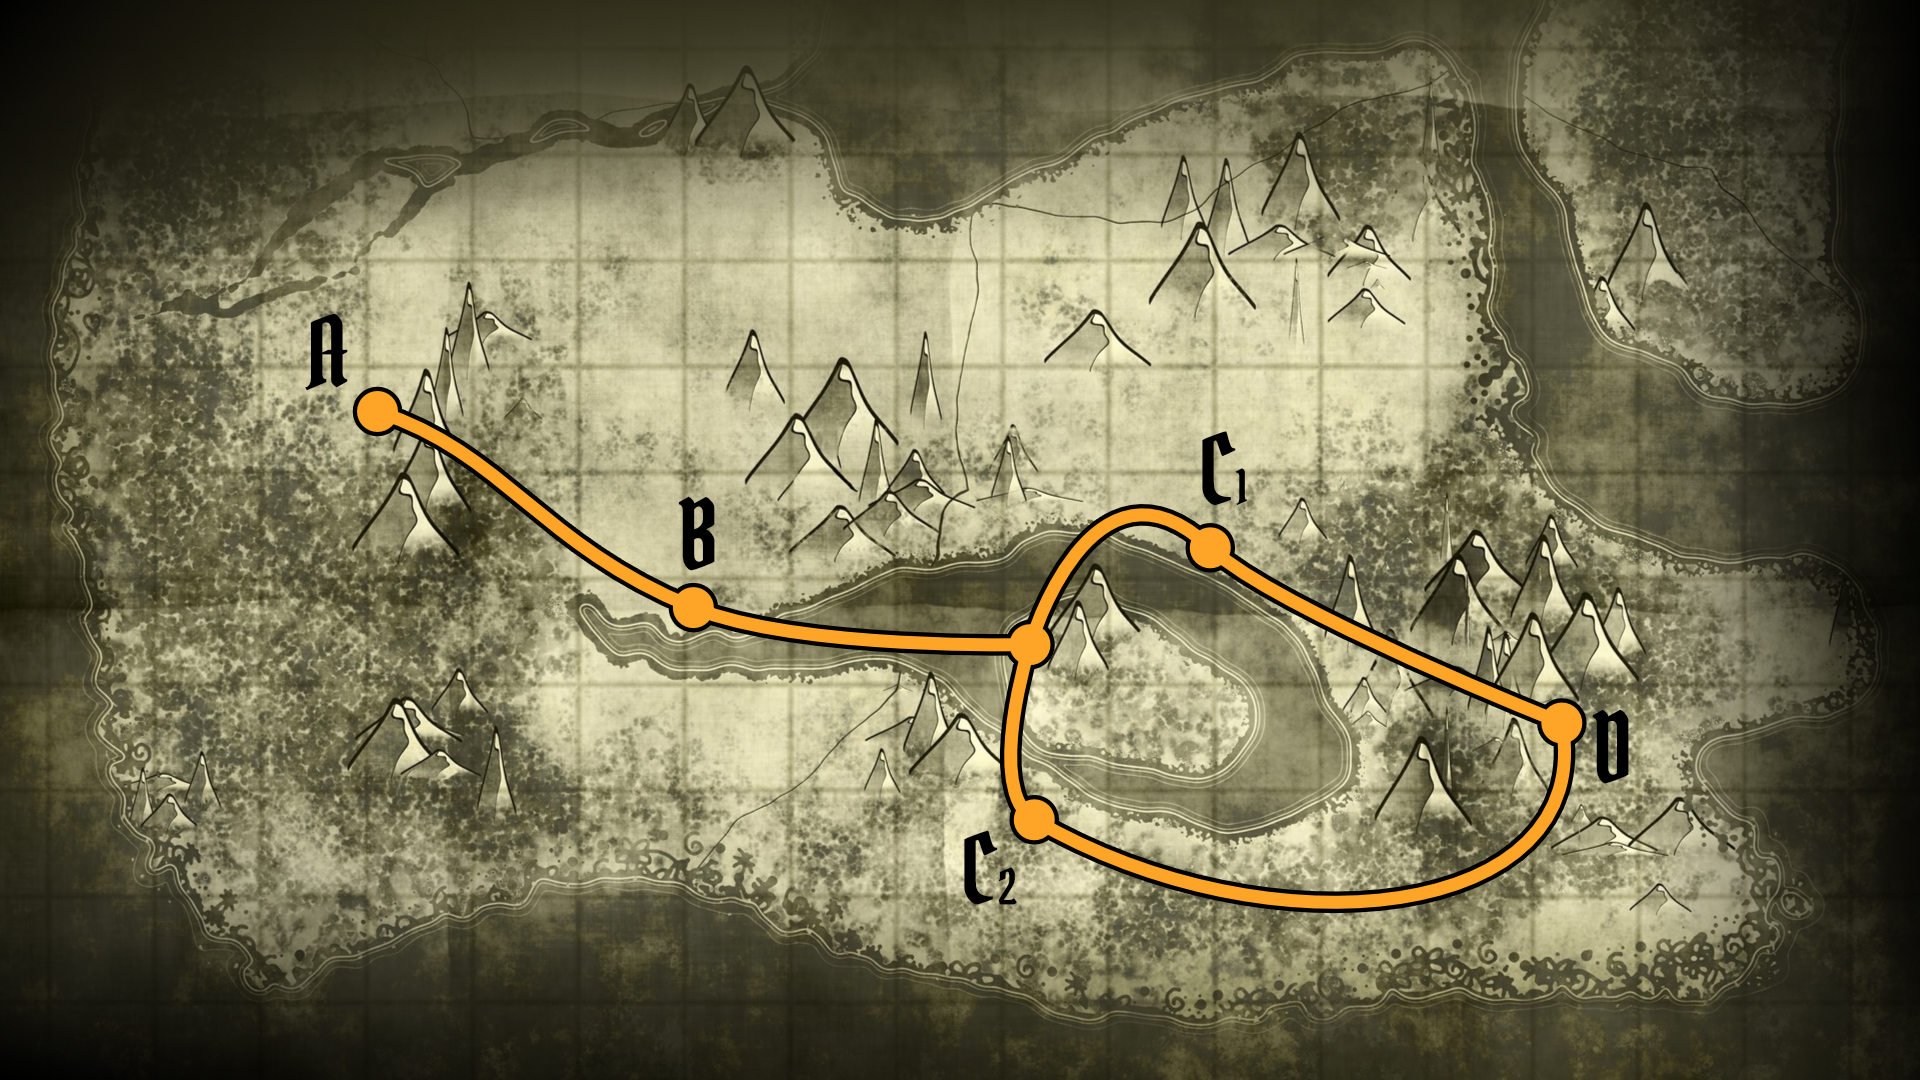
If the prototype focuses on quickly materialising a concept or moment, the outline is a quick telling of the whole story. Using a few words, the outline tells us what happens in each part of the tale, from start to finish—ending(s) included.
Think of the outline as a story’s roadmap. Since a story—let alone an interactive one—involves writing thousands of words (Witcher 3: Wild Hunt has a word count of about 450K, while 80 Days counts about half a million of them), there is an obvious need to have a clear story overview—and hence a clear head.
An outline briefly describes each of a story’s parts. A more specific kind of outline is the step outline, which narrates the story scene by scene—again, using a few words to describe the scene’s elements, characters, conflict, and outcome. A synopsis is even broader, as it tells the story in a few words—spanning about a page’s length.
In all cases, an outline is a written document and a story in itself. It must be well-written and convey the world, the key events, and the characters’ emotional journey. It may be a brief document, but with great brevity comes great responsibility.
Using an outline to prototype a story
So, we’ve agreed prototypes and outlines are not the same beast. But if we want to prototype our story, from start to finish, the best way to do it is by writing an outline.
In the case of interactive stories, with all their branching, multiple endings, complicated dialogue trees, conditions, and mechanics, creating an interactive outline is the most effective way of prototyping. It allows us to experience in their essence all the elements that take place: story events, character journey, and mechanics—and even share them with others for feedback.
The overview provided by an outline can help us:
- see if the story concept has legs: how far can an idea or concept go? Can it sustain a player’s interest and for how long? Is it a short or a long form narrative? See if the story works, before spending much time on it. Definitely, before writing a whole draft.
- get an overview of character development: what is the characters’ inner journey? Is their growth happening at a believable pace?
- get an overview of plot: an outline is the best way to deal with the plot, the protagonist's outer journey. Are there any plot holes?
- get an overview of mood: what is the story’s mood? Does it vary at all? Are there any comedic moments? Is the genre consistent throughout?
Well, enough theory. Let’s dive in and see how we can write and share an interactive outline of our magnum opus.
How to write an interactive outline
We will use the Red Riding Hood’s Mum example from our article on writing interactive stories with Arcweave. With a couple of easy moves, we will demonstrate a workflow that involves an outline board and boards for the actual scenes, so that we can write without distractions and have a story overview.
The project's current state is this:
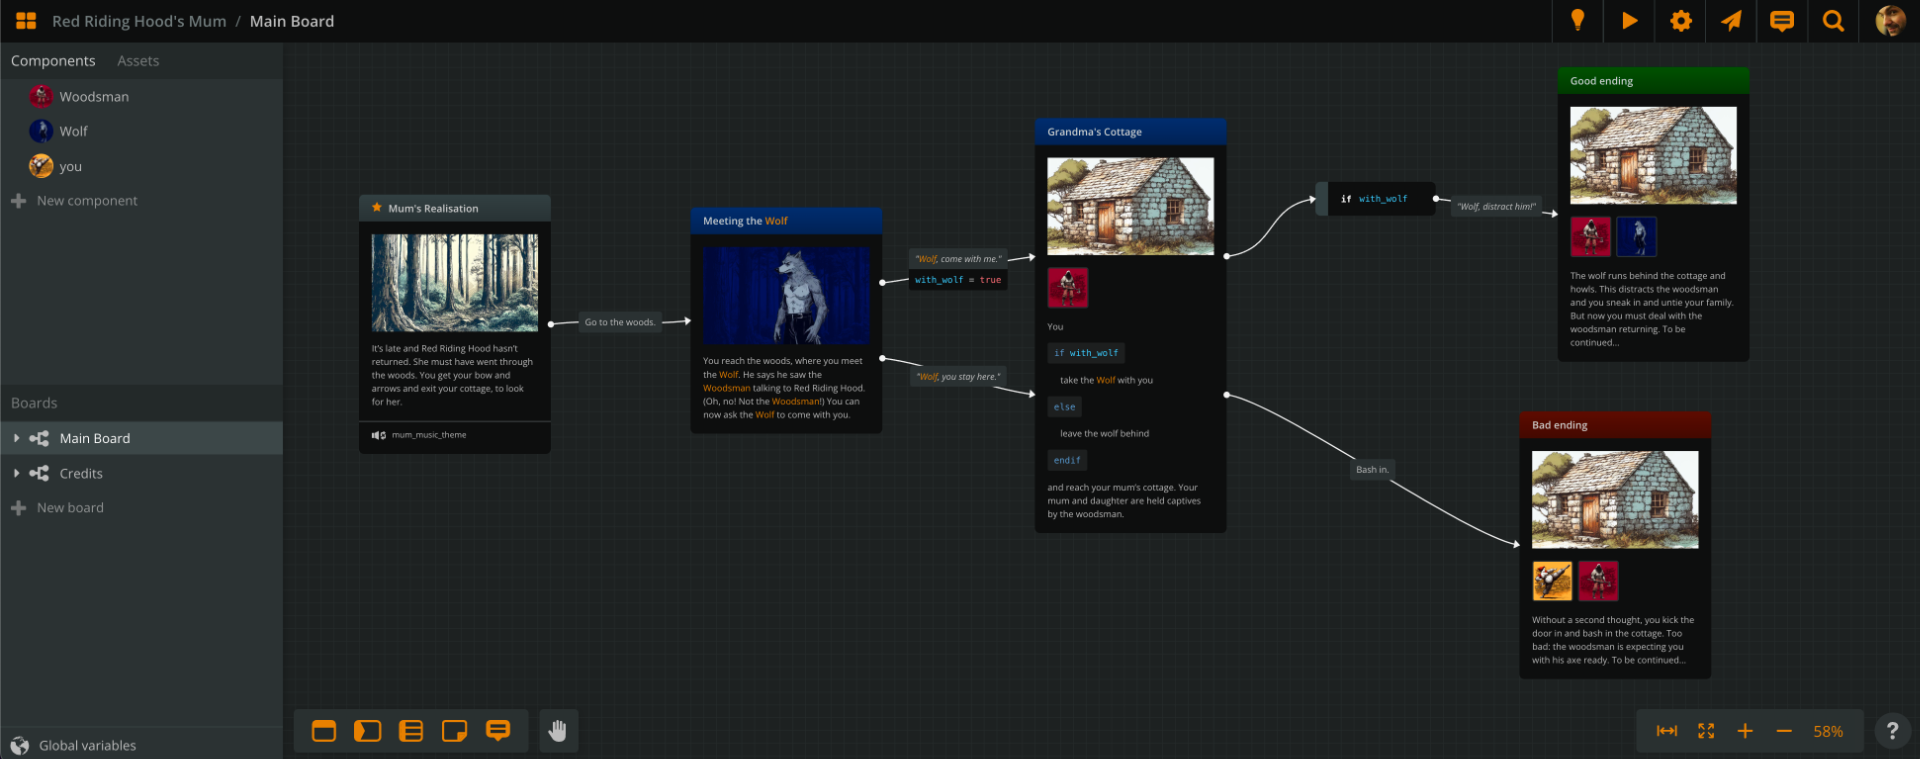
In the previous article, we left it with one Main Board, containing the 5 story elements:
- Mum's Realisation: the starting element.
- Meeting the Wolf: offering the choice of taking them with us or not.
- Grandma's Cottage: with the option to use the wolf's help, if he is with us.
- Good Ending: if we use the wolf's help.
- Bad Ending: if we simply bash in.
Well, here is your outline. Each element describes the scene in a few words and we have the story from start to finish. And it's playable. This is Giannis, thank you for reading! Let the games begin!
Well, not so fast. I promised a workflow that will allow an organic back and forth between outline and scene writing. Let's see how we can do that.
Some housekeeping
First of all, let's rename our Main Board to Outline.
Then, we can add a folder where all our scene boards will go:

Depending on the length of our story, we could make this folder tree more complicated, to include Chapters or Sequences, as in:
- Chapter 1 (or Sequence 1)
- Opening Scene
- Packing Up
- Chapter 2 (or Sequence 2)
- Entering the Woods
- Meeting the Wolf
- ... etc.
But the current example is short, so we can just have Scenes as the super folder of our board structure.
So, let's create one board for each scene, and stack them under our Scenes folder.
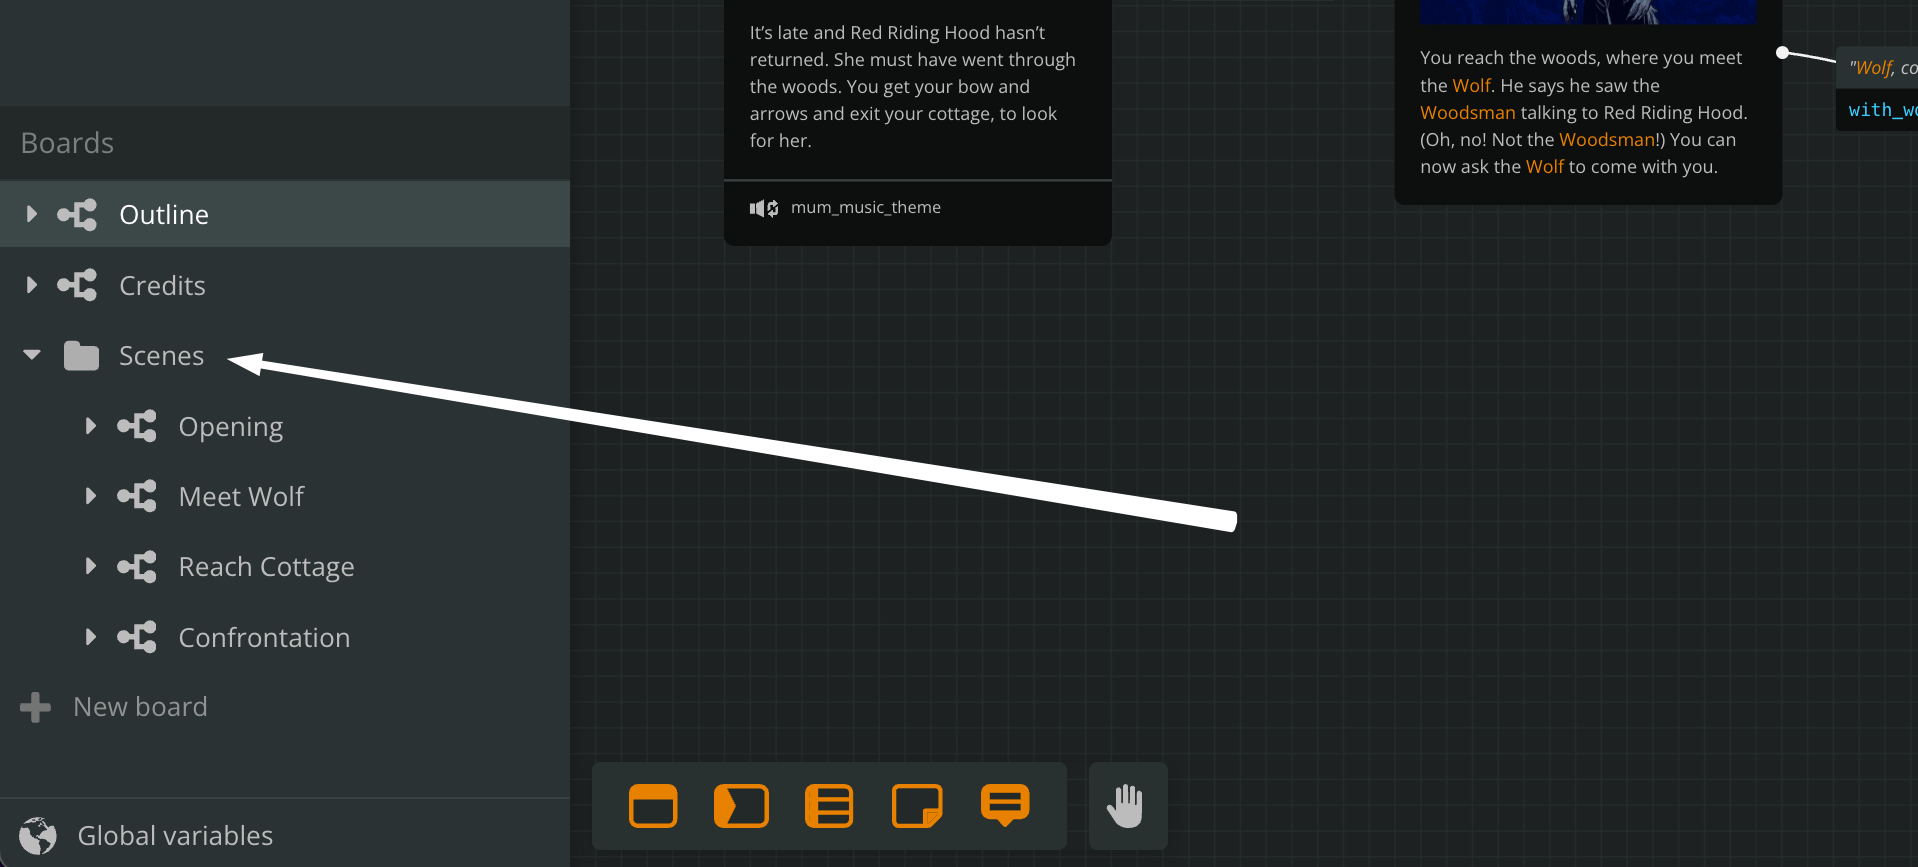
Our boards tree now looks like this:
- Outline
- Credits
- Scenes
- Opening
- Meet Wolf
- Reach Cottage
- Confrontation
Tip: When you have multiple boards, check your Boards list to make sure you are currently working on the correct one.
Scene writing
What we have now achieved is to set up a workflow where our scene writing can happen separately from our outline writing. While our outline lives (and gets tested) on its own board, we can freely write our scenes at our own time. These are two different processes, so they deserve their own separate spaces.
For example, to start writing your opening scene, open your Opening board. This is where we will write our player's opening soliloquy, when she realises her daughter hasn't returned yet.

On this board, we can write the full scene without worrying about losing the story's overview—it will always be there, waiting for us, on the Outline board.
You can do the same with the rest of the scenes, at your own time.
Link element to board
In order to quickly access scenes from our outline, we can link its elements to their corresponding boards. There are actually 2 ways to do this.
The first way is to link the board by dragging it from the boards list into the element. This links the board to the element and the latter gets a new icon (looking like a double downward arrow) at its top left corner.
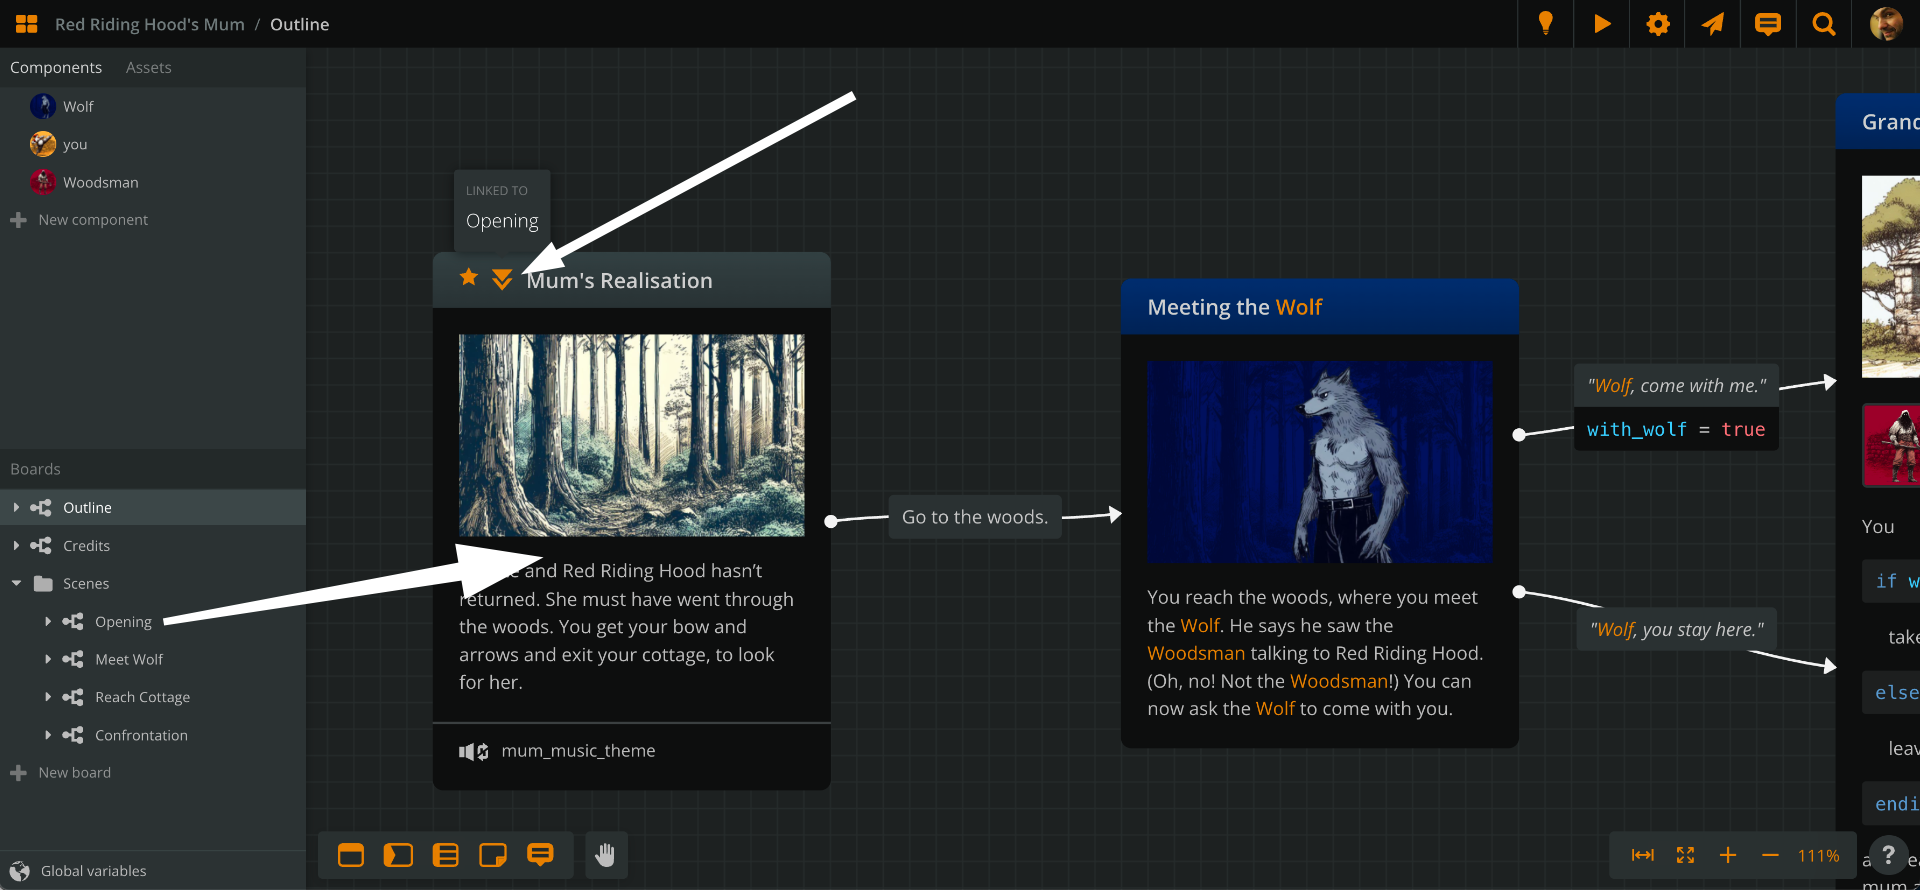
Hovering the mouse over the icon, we get the name of the linked board: Opening. If we double-click the icon, we open the linked board. (To delete the link, right click the element and choose "Remove linked board.")
The second way to create easy access from the outline's element to its corresponding board is to mention the board in the element's content or title. Just as with components, we can mention a board using the @ character followed by the board's name.
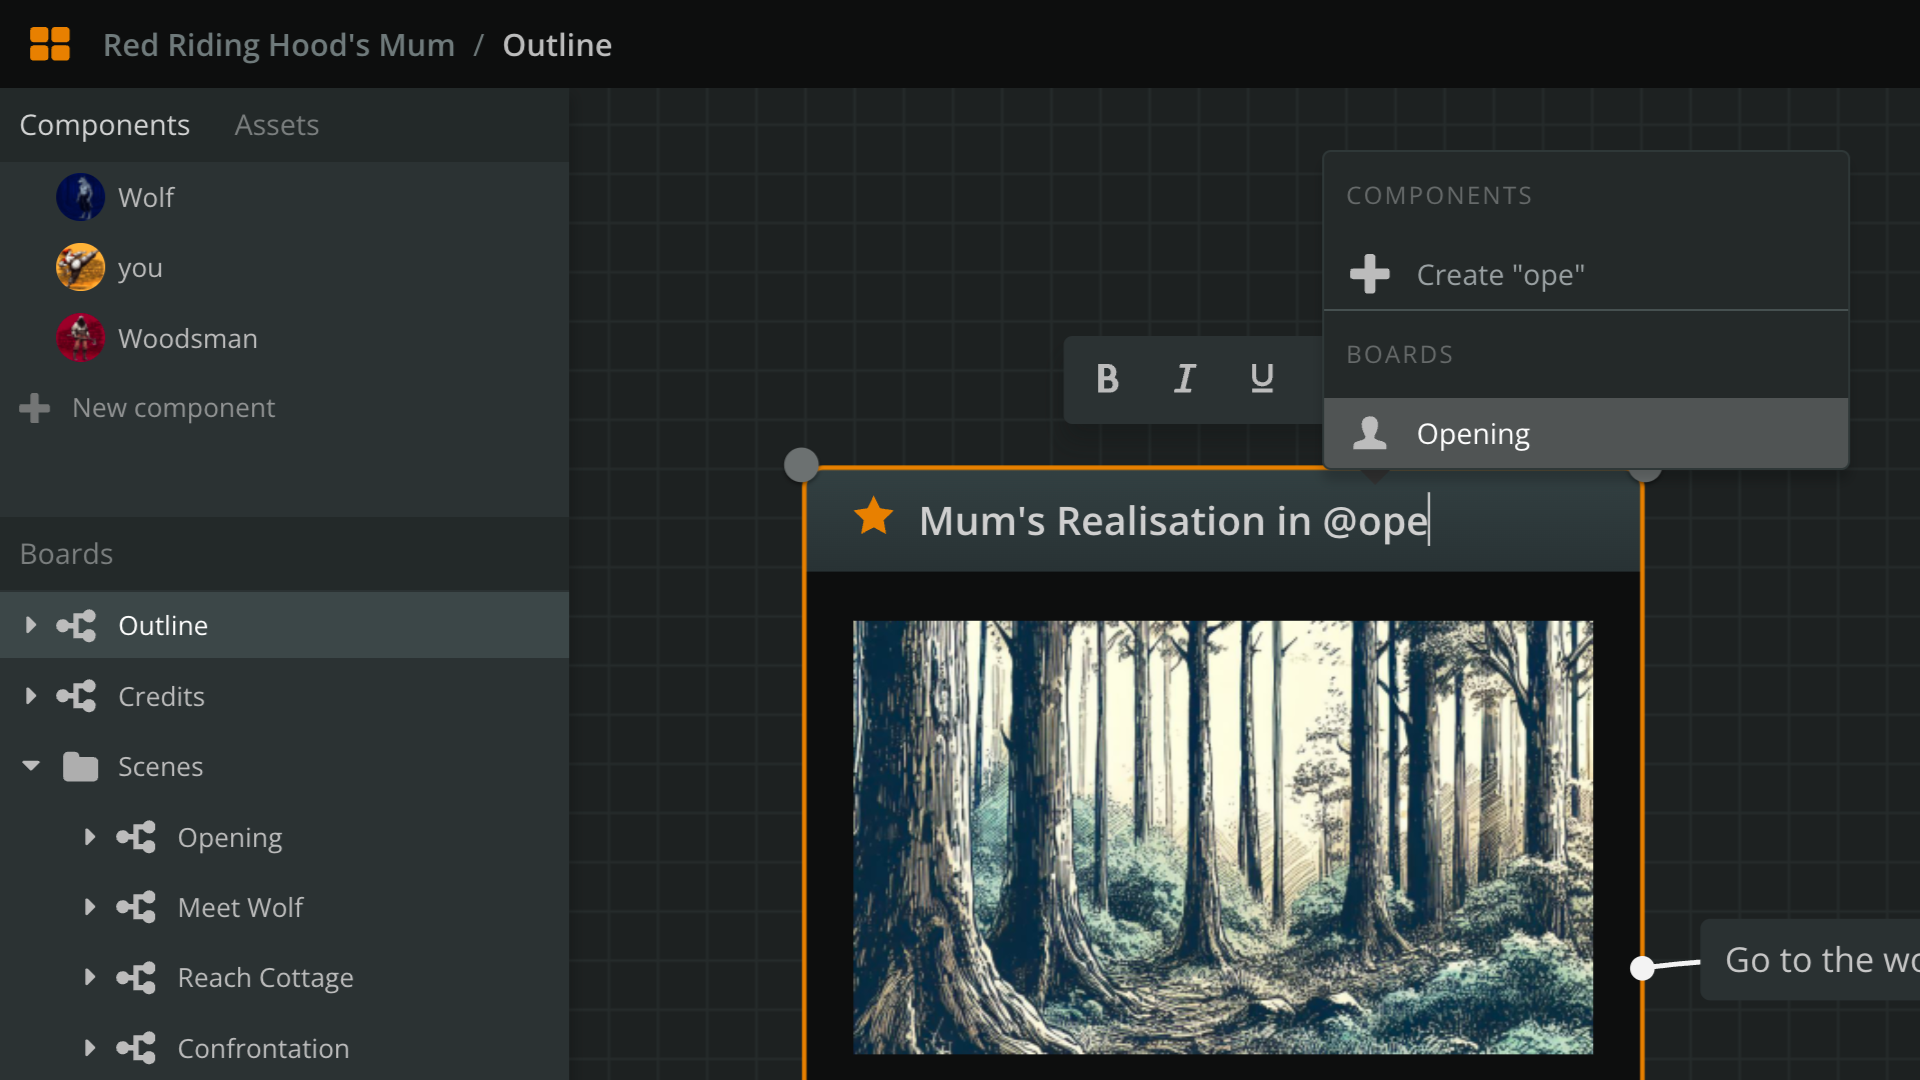
Choosing the available board from the list completes the mentioning process and creates a text link to the board.
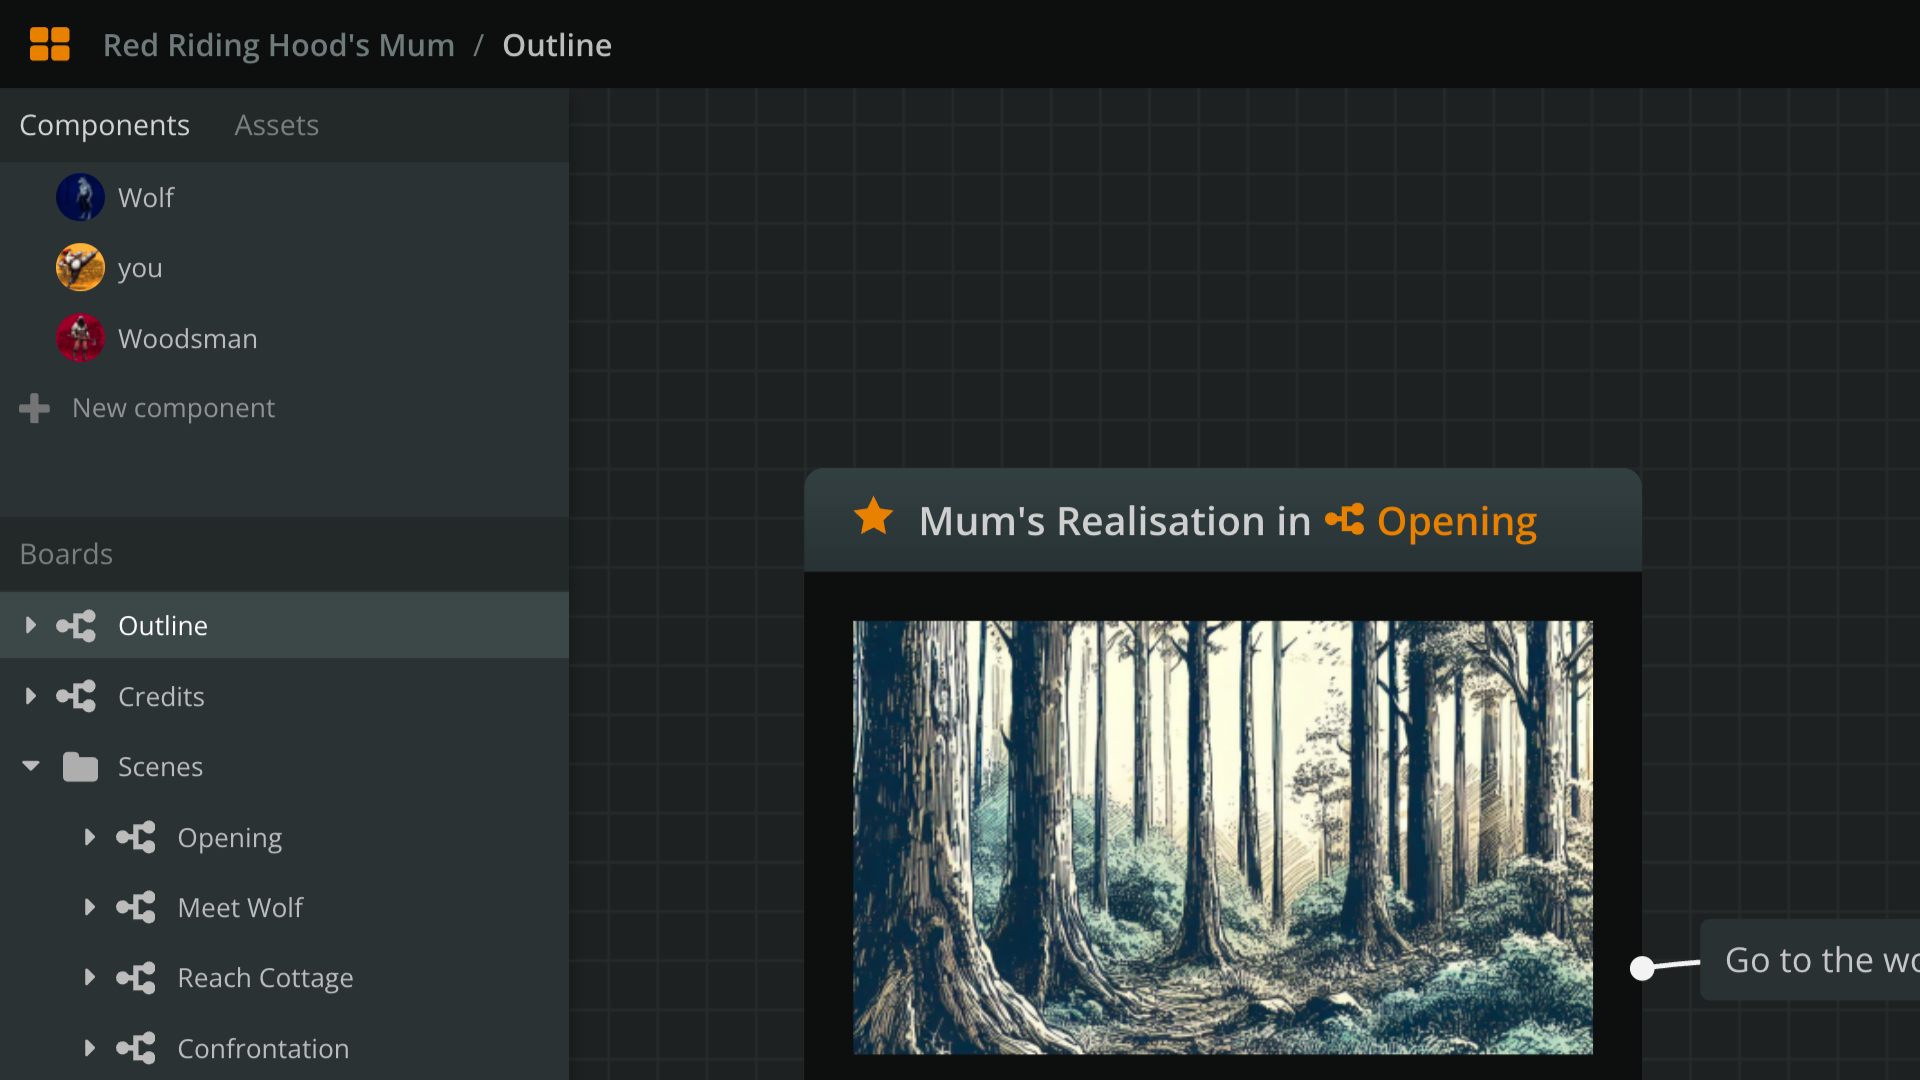
Again, we can click on the link to directly open the board.
Play-testing
Since our project's starting element is our outline's first element, we can test our outline with one click of our PLAY button. There's our story prototype, right there!
On the other hand, to test a scene, we can use the Quickstart Play Mode from here feature:
- right-click the Soliloquy Start element
- choose Quickstart Play Mode from here.
This separation allows us to zoom in and out as we write, from outline to scenes and vice versa, always having a clear overview of our material—and play-test it, too!
Are you a pantser or a plotter? Do outlines help you? Let us know in our vibrant chat room of our Discord server!
