Master Arcweave's asset management system to create immersive interactive experiences
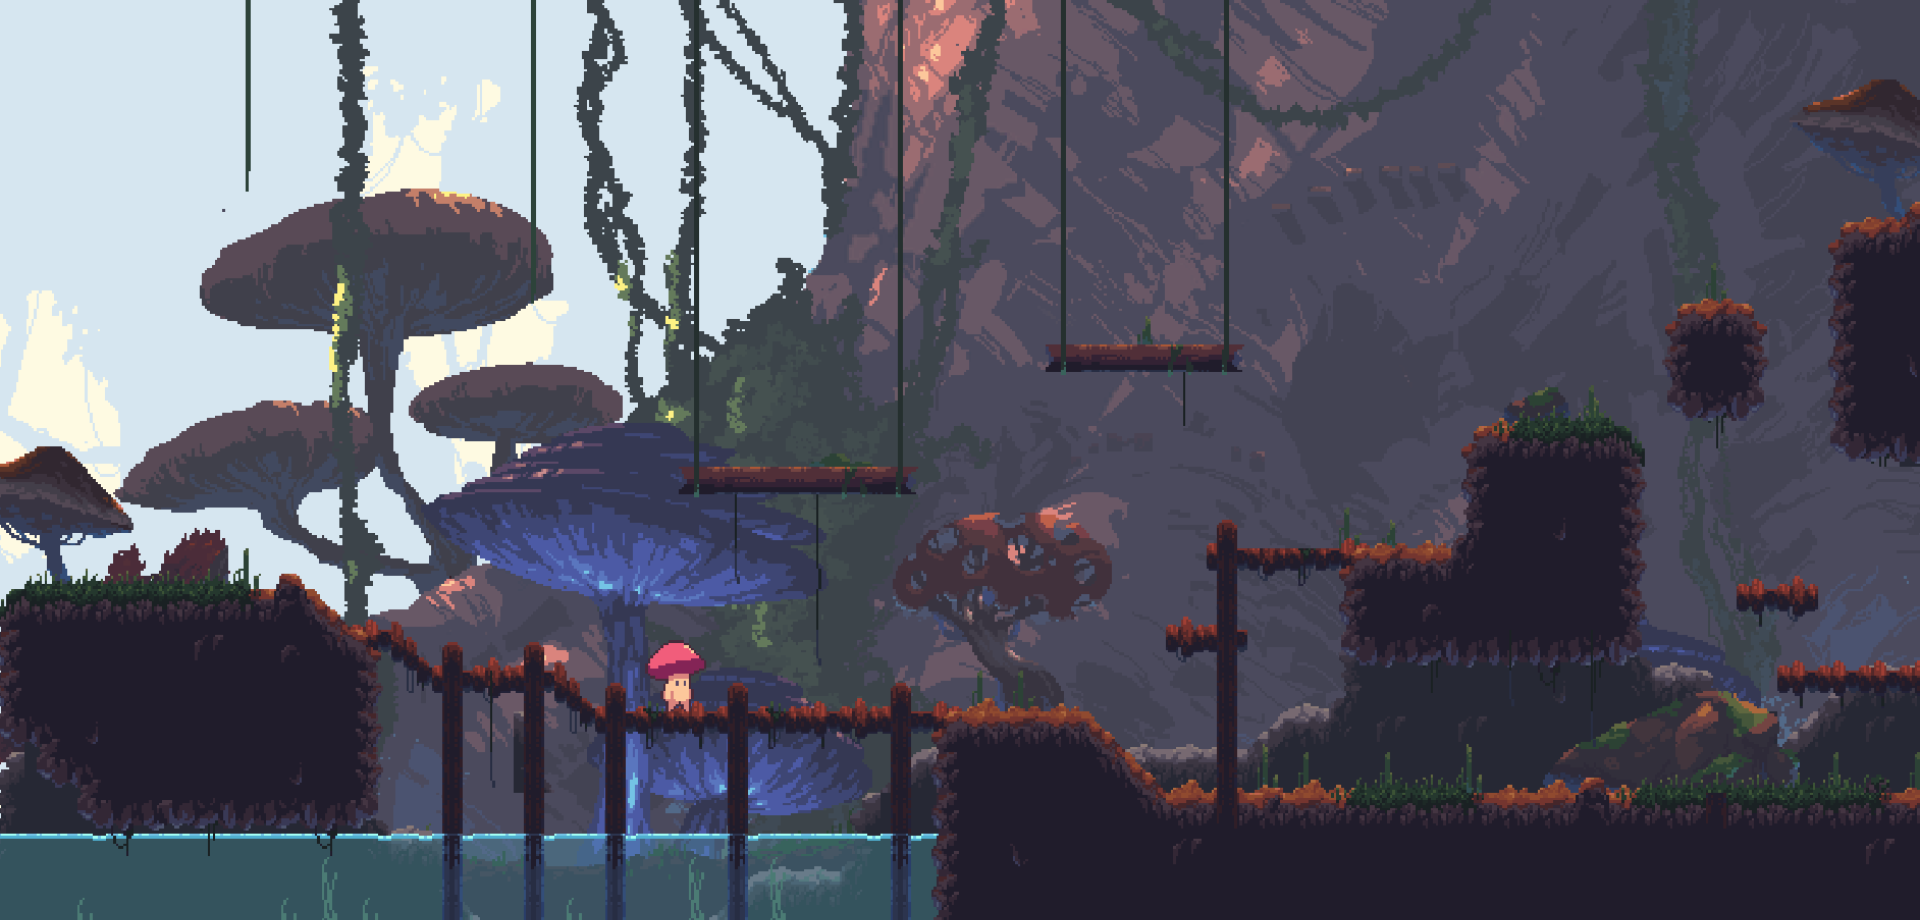
Fantasy swamp forest tileset by The Flavare
A compelling interactive story thrives on immersive media. With Arcweave you can upload, organize and attach image, audio and video assets to enrich your narrative, guide your users' experience, and elevate your project from prototype to polished interactive experience.
In this article you'll learn how to:
- Upload assets to Arcweave's Assets tab.
- Attach images, audio, and video assets to elements and components.
- Organize your asset folders effectively.
- Understand supported file types, playback settings, and best practices.
Understanding how to effectively use Arcweave assets is essential for creating immersive and memorable user experiences.
💡 If you aren't familiar with Arcweave's basic concepts, you can first read our blog post Create your own interactive story and share it in just 7 minutes, before you continue with this article.
Contents
Jump straight to specific sections of this article:
- What are Arcweave assets?
Kinds and supported file formats - Managing assets
Uploading, organizing in folders, previewing, and replacing - Using images
As element or component covers - Using audio
Attaching to elements and configuring playback behavior - Using video
Attaching to elements and configuring playback behavior
What are Arcweave assets?

Kinds of assets
In Arcweave, assets refer to media files you upload to your project, which you can then use across your board elements, components, and Play Mode.
The current documentation distinguishes three main asset types:
- Image assets: used mainly as covers for elements or components.
- Audio assets: attached to board elements to play music, voice-over or sound effects in Play Mode.
- Video assets: attached to elements (as covers) to play visual storytelling, interactive movies or video sequences in Play Mode.
Supported file formats
Arcweave supports industry-standard file formats for maximum compatibility:
- Images:
.jpg,.png, and.gif - Audio:
.wav,.mp3, and.ogg - Video:
.mp4,.ogg, and.webm
Assets cheatsheet
Images: Add as cover to elements and components
Audio: Attach to elements, for music, atmos, sound FX & dialogue
Video: Attach to elements, for cinematic sequences, interactive movies
Managing assets
Uploading assets
To upload files to Arcweave, use either of the following ways:
- At the top of the Assets section, click Upload asset (+ icon) and select your file(s) from your drive.
- From your file manager, drag the asset or assets and drop them into the Arcweave window.
Organizing assets in folders
Arcweave allows you to create folders and subfolders inside the Assets section. Efficient asset organization is crucial for large projects, keeping your project tidy and navigable.
Arcweave's folder system allows you to:
- Create hierarchical folder structures.
- Group assets by type, scene, or character.
- Maintain project clarity as your story grows.
Assets folder tree example
An obvious structure would be to separate assets to audio, images, and video, on the first level. Then, add subfolders to each of them, as in the following diagram:
Root
  ├─ Audio
  │    ├─ Music
  │    ├─ Sound FX
  │    └─ Atmos
  ├─ Images
  │    ├─ Characters
  │    └─ Backgrounds
  └─ Video
       ├─ Transitions
       └─ Dialogue Sequences
✅ For more info on uploading and organizing assets in folders, see the Arcweave documentation.
Previewing assets
Click any asset in the Assets section to preview:
- Images: Full-size preview with download option
- Audio: Preview the audio and set the volume.
- Video: Full preview with download functionality
Replacing assets
You can replace an asset across your project, without the need to delete and reattach manually. Right-click the asset, in the Assets section, and select Replace asset.
This will refresh all instances of the asset in the project.
Using images
Set your image assets as covers for elements and components in your project.
Element covers
Drag an image asset from Assets tab and drop it inside an element.
The image will appear as a thumbnail above the element text. In Play Mode, it appears in full size above your content.
Component covers
Click a component under your Components tab, to open it for editing.
Then, switch to the Assets tab and drag an image asset into the open component editor. The component's cover will instantly update across your project.
If a component is attached to an element that also has a cover, in Play Mode the component's cover appears as a thumbnail under the element's main cover.
On the other hand, when you attach components to an element that has no cover, the component covers occupy the element cover area in Play Mode.
Best practice for images
Use image assets strategically to strengthen your narrative:
- Set consistent visual style across elements/components.
- Don't just show what's in the text. Use images that add an extra layer of meaning.
- Replace outdated artwork quickly via Replace asset.
Using audio
Audio assets allow you to add ambient sound, music, dialogue, voice-over, and sound effects to enhance the interactive experience.
Attaching audio to elements
Audio assets are meant to be attached to elements, so they play when the element loads in Play Mode.
Drag an audio asset from the Assets tab and drop it into an element of your board. This creates an audio clip instance attached to that element.

Configuring playback behavior
Click the audio instance to open its settings panel. There you can configure its playback behavior: play once, loop, stop, and delay.
For a detailed description of audio playback behavior settings, see the documentation.
Best practice for audio
- Use loops for background music or atmos.
- Use play once for sound effects or voice-over triggers.
- Use stop all instances when you need to change mood or clear audio before a new scene.
Audio assets tutorial
To see examples of adding and setting audio assets, watch Episode 23 of our video tutorials:
Using video
Video assets take your project's storytelling up a notch with motion, film-style sequences, or interactive movie-like elements.
Attaching video to elements
Video assets are meant to be used as element covers. Once in Play Mode, the video will play automatically or on demand.
To attach a video asset to your story, drag the asset from the Assets section of your project and drop into an element of your board.
⚠️ Video assets cannot be used as component covers.
Configuring playback behavior
Once the video asset is set as cover, double-click the thumbnail within the element to open its settings panel. There you can configure its playback behavior: autoplay, show controls, loop, etc.
For a detailed description of video playback behavior settings, see the documentation.
Best practice for video
- Use autoplay for cinematic introduction scenes and show controls when user interaction is required, i.e. when the user must be able to pause, replay, or seek specific moments.
- Use Show options on video end when you want to force a user to watch a sequence before proceeding with the options.
- Consider video size and optimize its compression.
Video assets example
To see Arcweave's video assets in action, try recreating the template called "Interactive Movie Example," from the project templates.

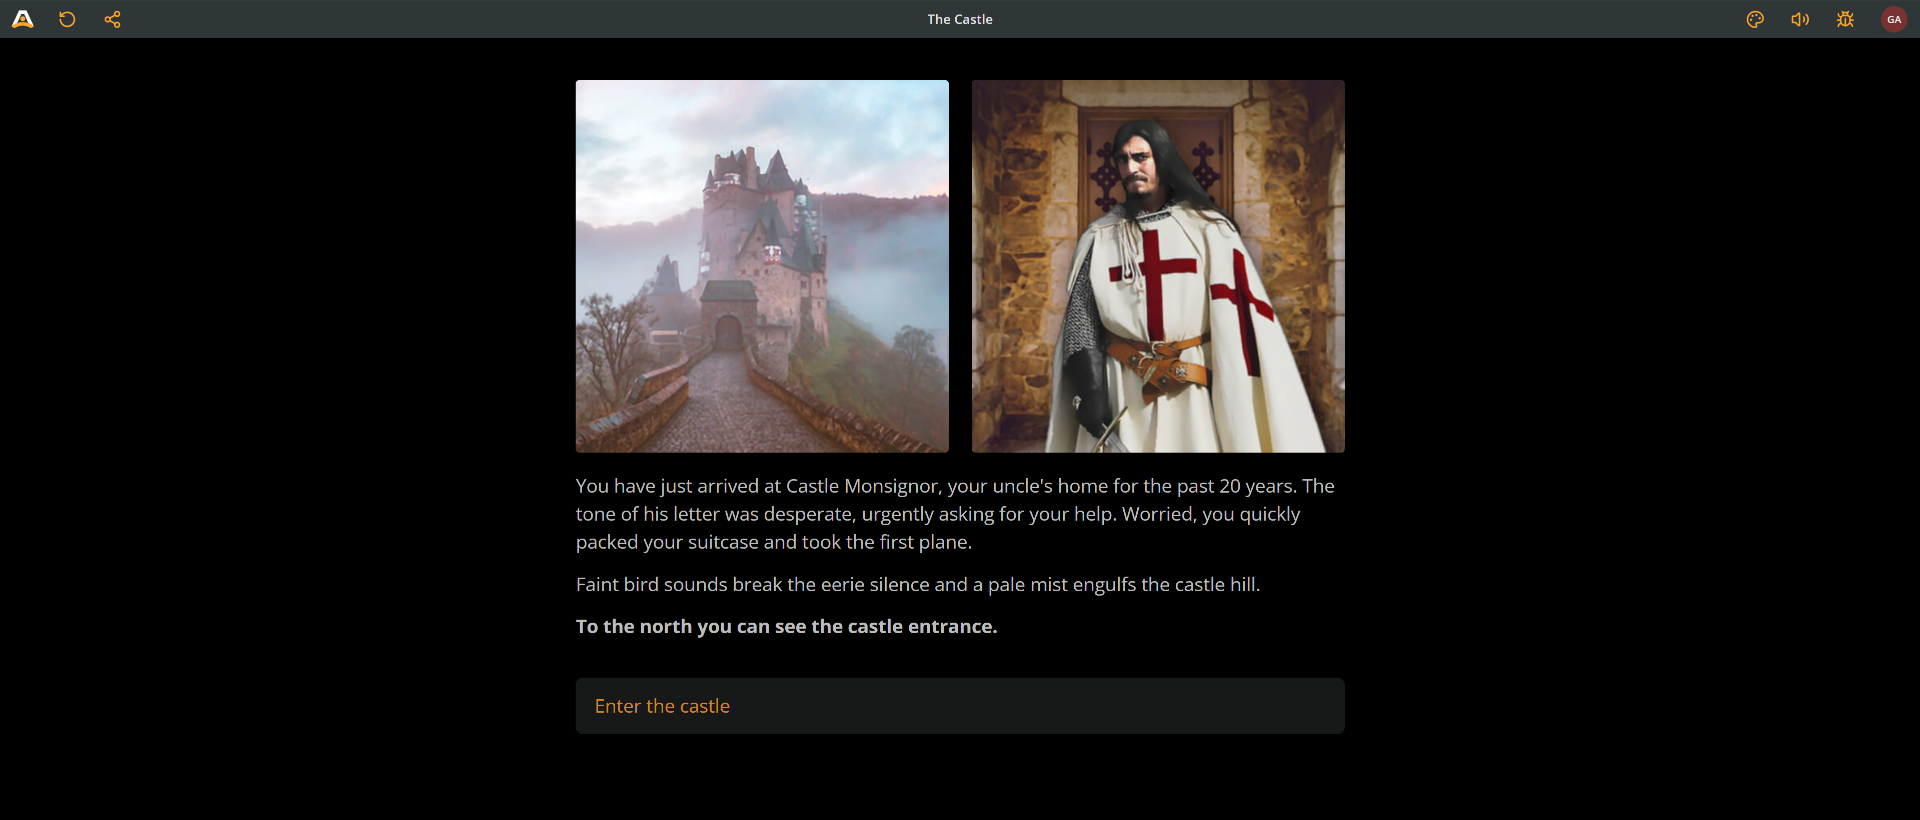
An assets demo
Finally, you can enjoy an asset-rich Arcweave project created by one of our users.
To see how assets are used in this example, explore its board structure.
Assets are powerful tools in Arcweave to make your interactive stories even more immersive, engaging, and memorable.
They offer multiple options and require you to experiment, so spend some time attaching and testing the results in Play Mode. The more you practice, the quicker you'll get to the point where using assets becomes a second nature.