New Godot plugin fetches complex story and logic from Arcweave—during runtime, too!
 Fellow Godot lover, I bring great news! Whether you're developing a narrative-heavy RPG/adventure or writing barks for a FPS, our new plugin brings Arcweave's supreme storytelling powers into your Godot workflow—and it works like magic!
The plugin integrates seamlessly with your Arcweave project, fetching and interpreting all of its aspects: text content, logic, component attributes, you name it. Moreover, it lets you update your story during runtime and from the executable, too!
If you want to offer your writers the unique experience of testing and editing their story using just the packaged game, keep reading, for Godot's sake!
About the plugin
Installing & enabling the plugin
To use the Arcweave plugin, make sure you have Godot 4 .NET installed in your computer.
Due to it including C# scripts, the Arcweave Plugin requires the .NET (mono) version of Godot 4.
You can download Godot from its official website. Once you install it, create a new project.
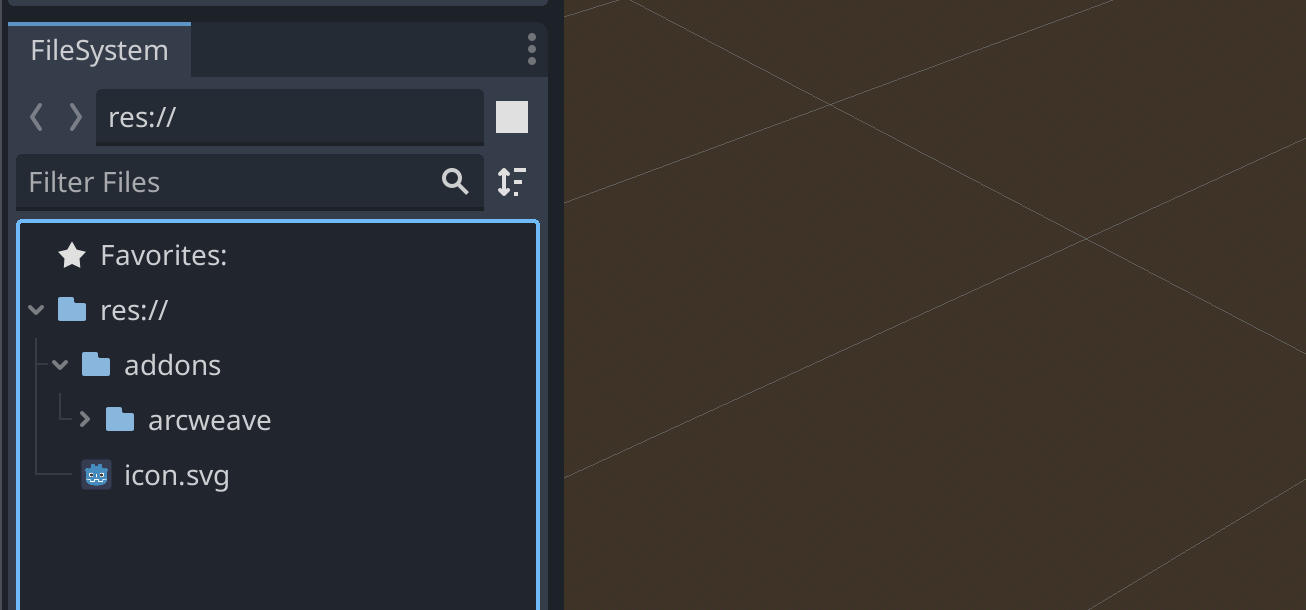
Then, download the plugin from its Github page. Extract the ZIP and drop its addons\arcweave folder in your Godot project's file system.
 To enable the plugin, follow this checklist:
- build your C# solution file;
- include the ANTLR library in
project_name.csproj; - build your project (the little hammer icon);
- enable the plugin;
The steps are covered in detail in the plugin repo's readme file.
Exploring the plugin
The plugin's fundamental parts are:
Story: object responsible for following the Arcweave story flow. Not only does the Story class provide access to the current element, its content, and the player options, it also keeps track of the variables' state and the number of visits of every element.
ArcweaveAsset: resource storing the Arcweave project's data, so Godot can directly access them. Can receive data from local JSON file or webAPI.
ArcweaveNode: node that loads the ArcweaveAsset for direct access in the scene tree. It initialises the story object, handles story updates, and emits a signal once the update is done. Remember: this plugin allows story updates and data fetching during game runtime—the ArcweaveNode handles any requests we make to Arcweave's web API.
Play Mode Example
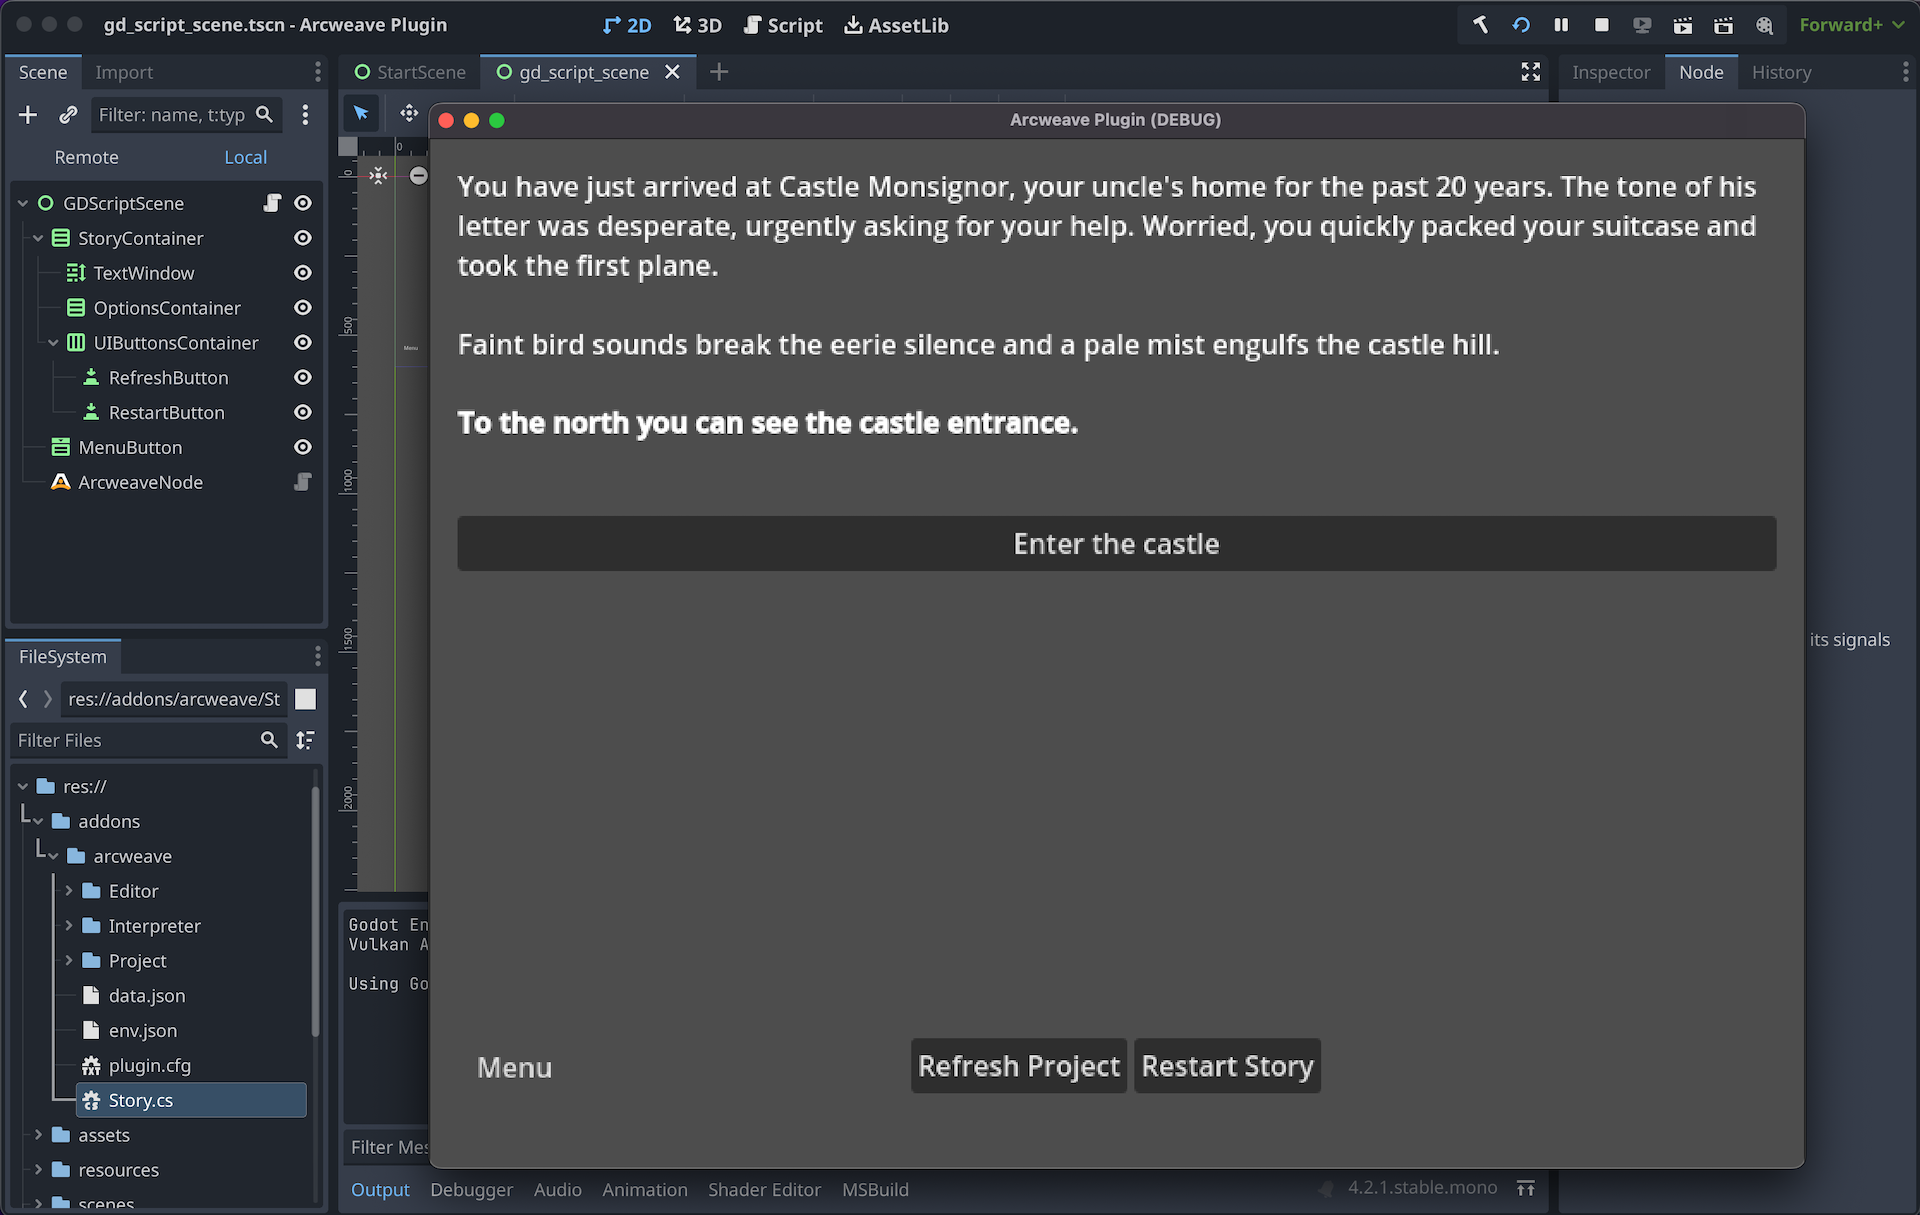
To demonstrate a simple integration, we created a Godot adaptation of Arcweave's Play Mode. It uses the Castle project, Arcweave's interactive fiction example.
 You can download this from the Releases section of the plugin's repo.
This project provides examples for using the plugin in both a GDScript and a C# game. Moreover, it shows 2 ways of implementing the ArcweaveAsset: one using the ArcweaveNode and one without it.
As in the original Play Mode, we advance by pressing the option buttons. Saving and loading is a bonus: if we press this Menu button, we can save our progress and later on Load it. Finally, if we have set up our ArcweaveAsset properly, we can click the Refresh button and fetch any story updates in runtime.
3D Game Example
To demonstrate a more sophisticated integration, we created a short 3D game that uses the Arcweave plugin for Godot.
 To let you experiment with the plugin, the game includes important implementations:
- interaction triggers dialogue: instead of the Play Mode approach (one starting element & one story flow), each NPC has their own dialogue tree, triggered when we interact with them.
- dialogue handling: a simple text window, option buttons, and the speaker's avatar;
- component attributes define game elements: character names, sprite colors, health bar colors;
- variable assignments trigger game events: inventory I/O, health bar update, animations;
- runtime story updates via web API: in-game API key & hash fields, runtime data-fetch button.
Downloading and playing
To open and run the game in the Godot editor:
- Download the game from its Github repo;
- Extract the ZIP;
- Import it in Godot and open it;
- Build;
- Reload it from Project > Reload Current Project.
This enables the plugin. The game's ArcweaveNode already has an ArcweaveAsset loaded: story.tres, therefore, you can run the project immediately.
Gameplay
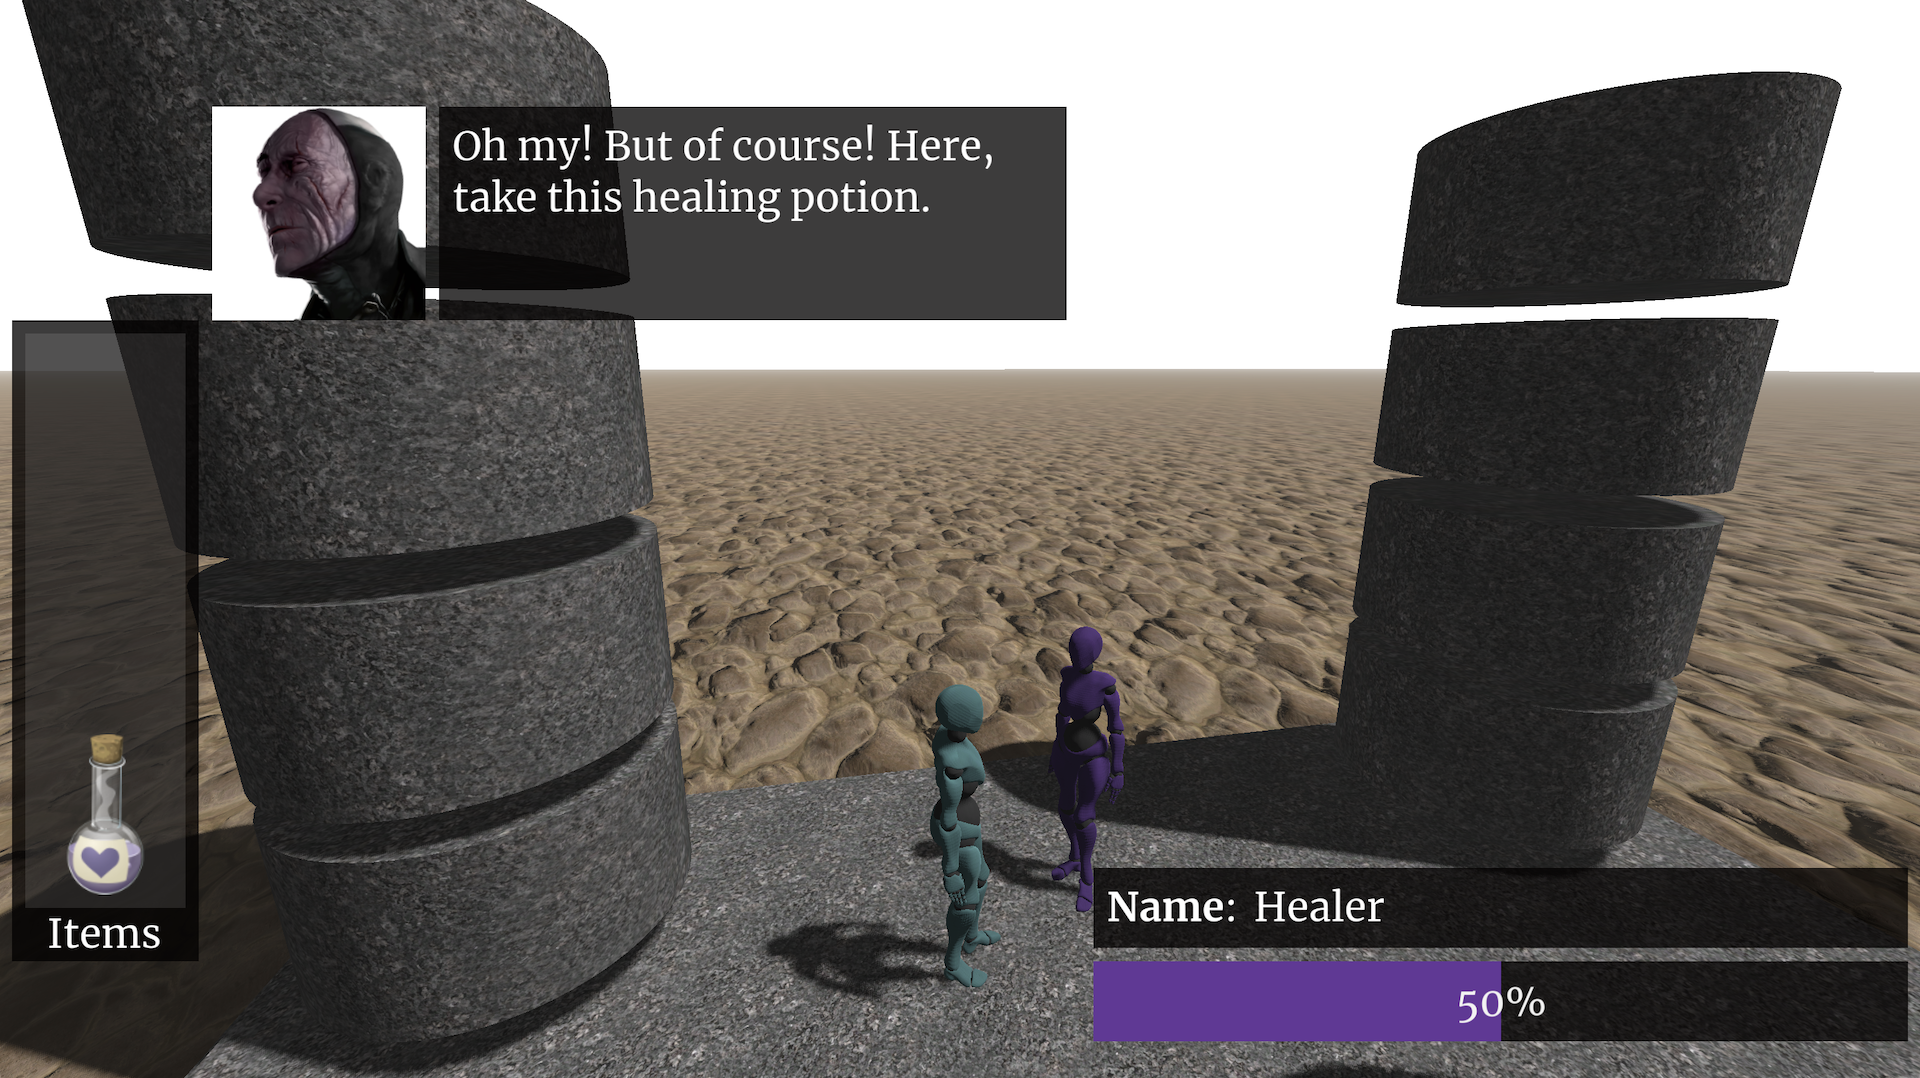
The game is a simplistic 3rd-person action RPG of sorts. The player can walk, run, and jump around a minimal setting, which includes a surreal ancient temple in the middle of a desert and 2 NPCs.
Whenever the player approaches an NPC, they see their name and health bar; the plugin's functions fetch this information from the NPC's component and _health variable.
Talking to the NPC displays their portrait, dialogue line, and the player's option buttons, if any. The dialogue process triggers more functions of the Arcweave plugin, which return element content and the speaker component for each line of dialogue.
There is some basic inventory action, too: when the healer gives the player the potion, the item appears in the inventory panel, disappearing when Wanda drinks it.
Importing Arcweave data
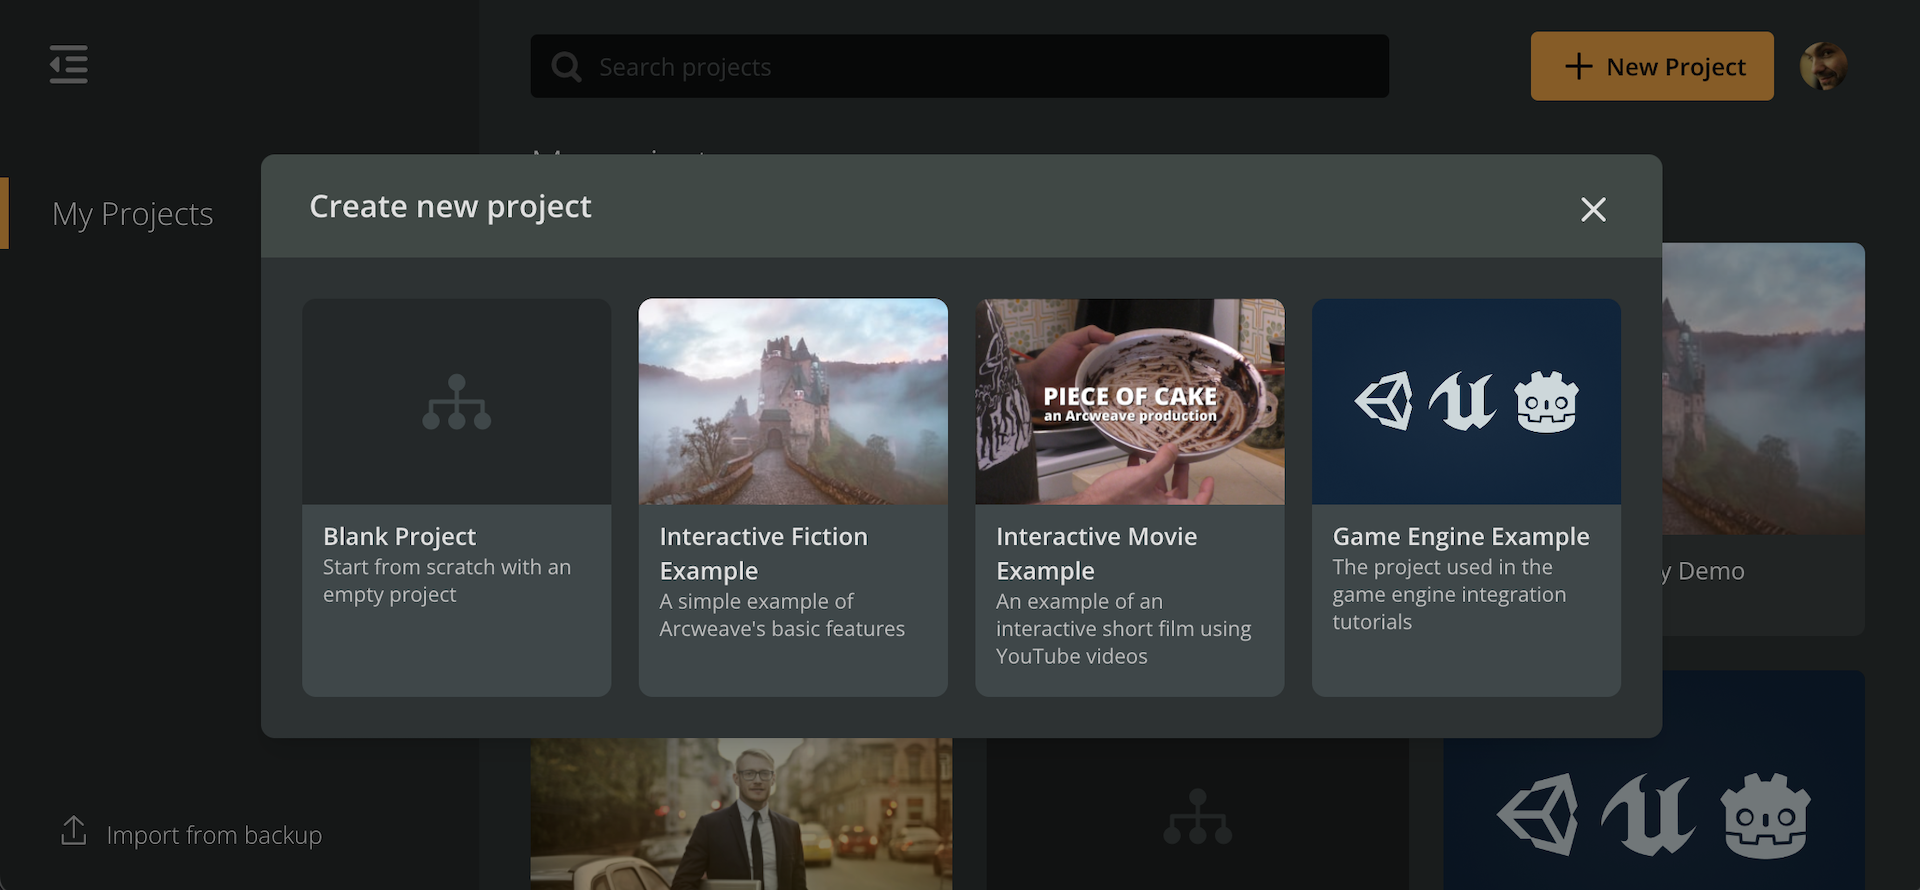
Each of the examples above use a different Arcweave project to draw data from. As mentioned above, the Play Mode Example uses The Castle. The 3D Game Example uses the Game Engine Example. You can find both of them in the Arcweave New Project templates.
 To get a project's data into Godot, we have 2 options:
1. Importing the JSON file
- in Arcweave, go to Share & Export > Export > Engine > Godot 4;
- unzip the downloaded file;
- in Godot, go to your ArcweaveAsset's inspector and set:
- Receive Method: "File;"
- File Settings: the path to the JSON file;
- click Initialize Arcweave Asset.
Every time you update your story, you must export the new JSON and feed it to your ArcweaveAsset as described above.
2. Importing with the Web API
(Team accounts only)
- in Godot, in the ArcweaveAsset's inspector, set:
- Receive method: "WebAPI;"
- API Key: the API token of the project's owner (Team account);
- Project hash: the short code right after
\project\, in the project's url.
- click Initialize Arcweave Asset.
Every time you update your story, you simply click on the Initialize button to fetch the new data.
Story updates from the executable
Both examples allow story updates during runtime. If you have a Team account, you can use Arcweave's web API to connect with your Godot game. Both games include a Refresh or Fetch button, which sends an API request for data fetching.
This means you can do the same from the exported game. Once you export your game, pass it on to your team of writers so they can test the story in the actual game environment, without using the Godot editor.
Story update examples
In the 3D game, we have implemented some examples that demonstrate how you can perform story edits by changing Arcweave parameters and fetching from the Godot editor or the executable game.
Dialogue changes: anything, from fixing just a typo to making major changes in a dialogue tree, will get reflected in our exported game.
Changing healing points: change the points added to wanda's health to increase the healing potion's strength. Or change any line of arcscript, in general. As the plugin evaluates arcscript for you, you only need to fix things in your Arcweave project.
Changing sprite colors: change the value of the Color attribute in any of the character components. Use any of the standard HTML color names (case-insensitive, spaces allowed).
Making rain: change the value of the Weather attribute in the Environment component from Clear to Rain.
Adding inventory items: in your Godot project folder, in ..\assets\item_icons, you'll find the potion icon, already used in the game, as well as the scroll, which is an extra item you can add. To implement the scroll in our story, create a variable for it; a boolean named have_scroll. This way, the function that handles our variable changes in our main script will know it must call the input I/O function regarding the scroll.
Testing different story versions: if using the WebAPI fetching method, you can easily test 2 or more versions of your Arcweave story, by switching from one project hash to another.
And it all comes with new tutorials
To take a deep dive into everything described in this blogpost, the next step is to watch our YouTube tutorials on the Godot plugin. They explain the plugin's classes and methods in detail, as well as explore the demo games' scripts, almost line by line.
Also, make sure you go through the README files of both the plugin and the demo game repos. And don't hesitate to reach out for help on our Discord server—I'll be happy to help you with your Arcweave / Godot workflow!